


Finding the right fit for a vintage heavy metal shirt can be challenging when original 1990s sizing rarely matches modern standards. Collectors know that each piece carries unique history, with tags and measurements demanding close attention. This guide brings together expert tips on preparing your shirt, decoding its era, and comparing dimensions to Australian sizing, making it easier to confidently collect ex-tour stock with authenticity and precision.
Table of Contents
- Step 1: Prepare Your Vintage Shirt And Tools
- Step 2: Identify Original Tag Sizing And Era Specifics
- Step 3: Measure Shirt Dimensions Accurately
- Step 4: Compare Measurements To Modern Australian Sizing
- Step 5: Verify Fit With Reference Shirts Or Try-Ons
Quick Summary
| Key Insight | Explanation |
|---|---|
| 1. Use Accurate Measuring Tools | Gather a flexible measuring tape and ensure the shirt is flat for precise measurements. |
| 2. Identify Shirt Tag Details | Examine the original tag to understand the shirt’s age, origin, and size discrepancies. |
| 3. Measure Key Shirt Dimensions | Record specific measurements like chest width and sleeve length to create a fitting profile. |
| 4. Compare with Modern Sizing | Match vintage dimensions against current Australian sizing charts to gauge the correct fit. |
| 5. Validate Fit with Try-Ons | Compare the vintage shirt with your own wardrobe or try it on to ensure a comfortable fit. |
Step 1: Prepare your vintage shirt and tools
To successfully measure your vintage heavy metal shirt, you’ll need a precise setup that ensures accurate sizing. Detailed vintage shirt measurement techniques start with gathering the right tools and creating an ideal measurement environment.
Start by collecting essential measuring equipment: a flexible measuring tape, a clean flat surface, and potentially a soft surface marker. You’ll want to lay the shirt completely flat, smoothing out any wrinkles or folds that might distort your measurements. Positioning matters - ensure the shirt is spread evenly without stretching the fabric.
Key preparation steps include:
- Using a hard, flat surface like a wooden table
- Positioning the shirt with front side facing up
- Ensuring all buttons or fastenings are undone
- Smoothing out fabric without excessive pulling
Vintage shirts require extra care during measurement because historical sizing differed dramatically from modern standards. Professional vintage clothing measurement techniques recommend treating each garment as unique, understanding that stretch and fabric composition can significantly impact sizing.
Pro tip: Always measure twice and record your findings to ensure precision and consistency.
Step 2: Identify original tag sizing and era specifics
Unlocking the secrets of your vintage heavy metal shirt starts with carefully examining its original tag, which serves as a historical document of its production. Vintage clothing tag identification techniques reveal fascinating details about the shirt’s origin, manufacturing era, and authenticity.
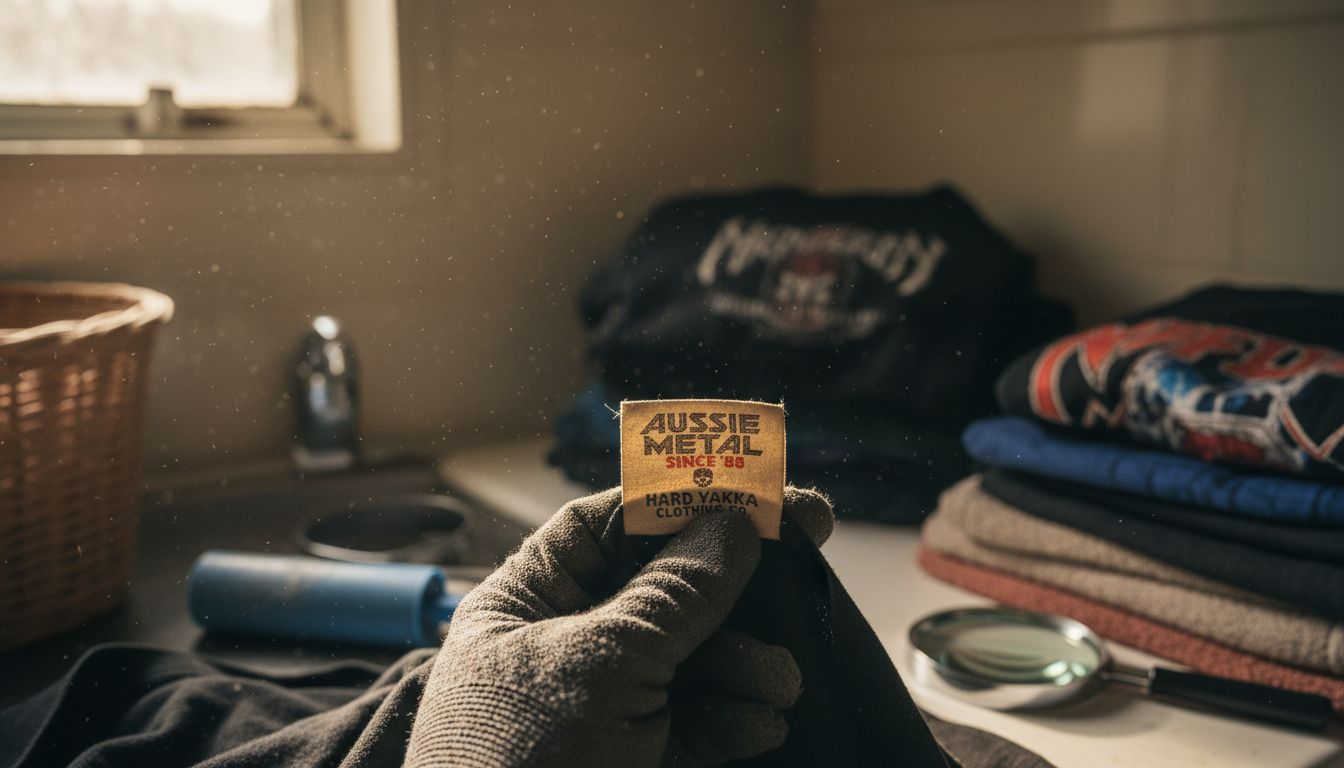
When inspecting the tag, pay close attention to several key elements that can help pinpoint its age and provenance. Union labels are particularly significant - for instance, International Ladies’ Garment Workers’ Union (ILGWU) labels can precisely date a garment between the 1930s and 1990s. Decoding vintage clothing labels requires a detective’s eye for subtle details.
Critical tag features to examine include:
- Country of origin label
- Specific brand logo design
- Care instruction symbols
- Size labelling format
- Fabric composition details
- Printing style and typography
Vintage shirt tags are more than just labels - they’re historical artifacts that tell the story of your garment.
Size labels can be particularly tricky, as vintage sizing differs dramatically from modern standards. A men’s large from the 1980s might equate to a medium by today’s measurements. Look for numerical sizing, special brand-specific sizing codes, or international sizing references that can help you accurately determine the shirt’s true fit.
Use this guide to spot authentic vintage tags versus reproductions:
| Tag Feature | Genuine Vintage | Modern/Reproduction |
|---|---|---|
| Country of origin label | Often faded or stylised | Crisp, standardised printing |
| Brand logo design | Retro logos and old fonts | Updated branding, modern fonts |
| Care instruction style | Minimal, basic symbols | Detailed, regulated instructions |
| Size label format | Numeric or unusual wording | AUS/INT standard letter sizing |
Pro tip: Take clear, well-lit photographs of the tag from multiple angles to preserve and reference its details later.
Step 3: Measure shirt dimensions accurately
Capturing precise measurements is crucial when documenting your vintage heavy metal shirt’s unique characteristics. Vintage shirt measurement guide requires a systematic approach to ensure accuracy and preserve the shirt’s historical integrity.
Begin by laying the shirt completely flat on a hard, smooth surface, smoothing out any wrinkles or folds that might distort your measurements. You’ll want to measure six critical dimensions to create a comprehensive profile of your vintage piece:
- Chest width (armpit to armpit)
- Shirt length (shoulder to bottom hem)
- Sleeve length (shoulder seam to cuff)
- Shoulder width (shoulder point to shoulder point)
- Collar width
- Bottom hem width
Precision matters: Each measurement tells a story about your vintage metal shirt’s unique design and era.
When measuring, use a flexible measuring tape and keep it taut but not stretched. Measure across the shirt’s flat surface, always measuring from the inside of the seams. For shirts with unique features like cut-off sleeves or asymmetrical designs, take extra care to note these specifics alongside your measurements.
Pro tip: Always measure twice and record your findings in both centimetres and inches to ensure maximum accuracy and future reference.
Step 4: Compare measurements to modern Australian sizing
Translating your vintage heavy metal shirt’s dimensions into contemporary Australian sizing requires careful cross-referencing and understanding of historical measurement variations. Australian clothing size conversion techniques offer crucial insights into bridging the gap between vintage and modern measurements.
To accurately compare your shirt’s dimensions, you’ll need to focus on key measurement points that Australian clothing standards use for sizing:
- Chest measurement (most critical comparison point)
- Sleeve length
- Shoulder width
- Total shirt length
- Neck circumference
Vintage sizing is an art: Your measurements tell a story beyond simple numbers.
Pay special attention to the chest width as this is the primary indicator of sizing. Vintage shirts often run smaller than contemporary Australian sizes, so you might find that a vintage large equates to a modern medium. Carefully compare each measured dimension against current Australian sizing charts, noting any discrepancies in cut, fabric stretch, and manufacturing era.
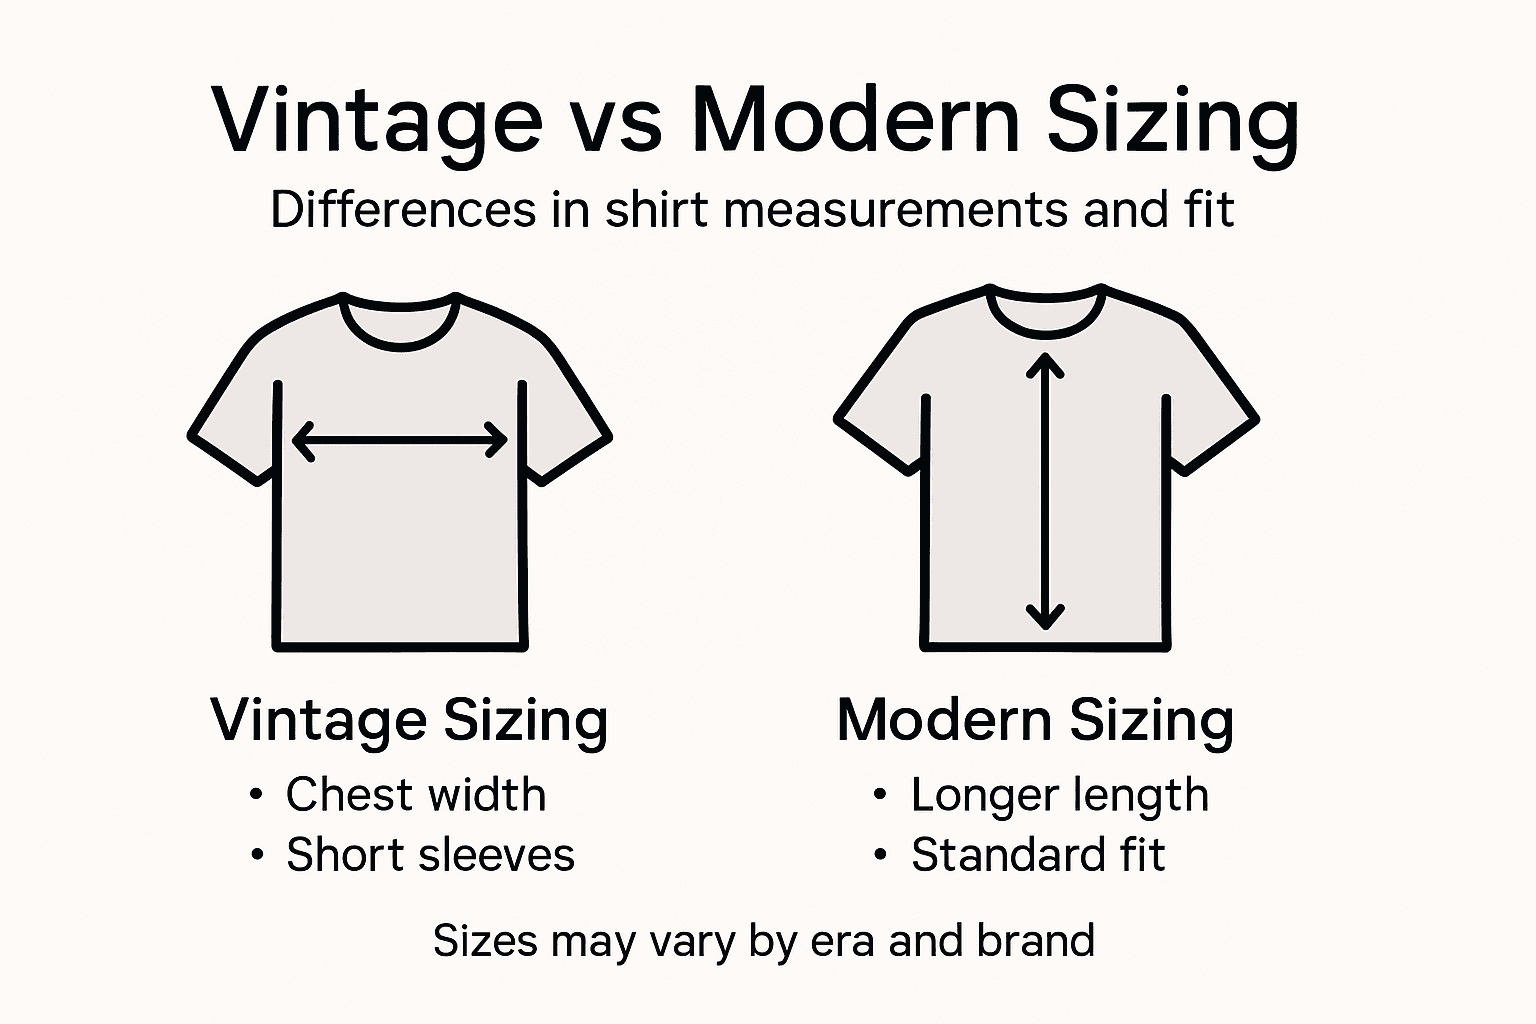
Here’s how common vintage shirt measurements compare with modern Australian sizing standards:
| Measured Dimension | Typical Vintage Sizing | Modern Australian Sizing |
|---|---|---|
| Chest width | Often runs 2–4 cm slimmer | Standard relaxed fit |
| Shirt length | Shorter crop, variable | Generally longer cut |
| Sleeve length | May be shorter or boxy | Consistent proportional fit |
| Shoulder width | Narrow shoulder seams | Broader shoulder design |
| Neck circumference | Smaller collars common | Generous collar sizing |
Pro tip: Create a digital spreadsheet to track your vintage shirt measurements, allowing easy comparison and future reference across different eras and brands.
Step 5: Verify fit with reference shirts or try-ons
Validating the fit of your vintage heavy metal shirt requires a strategic approach that combines precise measurements and practical try-on techniques. Vintage clothing fit verification methods offer collectors reliable strategies for ensuring an optimal match.
To verify sizing, you’ll want to employ multiple comparison techniques:
- Compare with existing shirts in your wardrobe
- Try on the vintage shirt if possible
- Measure similar garments for dimensional reference
- Check fabric stretch and composition
- Assess comfort in critical areas
Vintage shirts are more than measurements - they’re pieces of music history that should feel right when worn.
When attempting a physical try-on, pay special attention to shoulder seams, sleeve length, and overall chest room. Vintage clothing fit assessment techniques recommend evaluating how the shirt drapes and moves with your body, recognising that vintage cuts can differ significantly from modern designs.
Pro tip: Consider having a professional tailor evaluate minor alterations that could transform a near-perfect vintage shirt into your ideal fit.
Find the Perfect Fit for Your Vintage Heavy Metal Shirt Collection
Struggling to translate vintage heavy metal shirt measurements into the right fit can be confusing and frustrating. This guide helps you decode original tag sizing and compare measurements against modern Australian standards so you can avoid guesswork and wear your vintage treasures with confidence. Understanding chest width, sleeve length and shoulder fit is key to embracing the authentic style without sacrificing comfort.
Explore our Rare Vintage Heavy Metal Concert Shirts – Vintage Metal Store where every piece comes with detailed sizing insights to ensure you find your ideal fit.

Start building your ultimate collection today with All Shirts – Vintage Metal Store. Visit Vintage Metal Store now to shop genuine vintage heavy metal t shirts sourced from authentic tour stock and dead stock. Don’t wait because iconic band shirts in true vintage sizes go fast.
Frequently Asked Questions
How do I accurately measure my vintage heavy metal shirt?
To accurately measure your vintage heavy metal shirt, lay it flat on a hard surface and smooth out any wrinkles. Then, use a flexible measuring tape to capture six key dimensions: chest width, shirt length, sleeve length, shoulder width, collar width, and bottom hem width.
What should I look for on the tag of my vintage shirt?
Examine your vintage shirt’s tag for important details such as the country of origin, brand logo design, size labelling format, and care instruction symbols. Identifying features like union labels can help you pinpoint the shirt’s age and authenticity.
How do vintage sizes compare to modern Australian sizing?
Vintage shirt sizes often differ significantly from modern Australian sizes, with many vintage labels running smaller. To find your fit, compare your vintage shirt’s measurements, particularly chest width and length, to updated Australian sizing charts.
What should I do if my vintage shirt doesn’t fit perfectly?
If your vintage shirt doesn’t fit perfectly, consider whether minor alterations can improve its fit. Try on the shirt and assess critical areas such as the shoulders and sleeves, then seek a professional tailor for best results.
What are the key dimensions to consider for vintage shirt sizing?
When sizing your vintage heavy metal shirt, focus on critical dimensions: chest width, sleeve length, shoulder width, shirt length, collar width, and bottom hem width. Measuring these accurately will help ensure you achieve a good fit.
How can I verify the authenticity of my vintage shirt using its tag?
To verify the authenticity of your vintage shirt, carefully inspect the tag for specific features like faded printing, unique brand logos, and the type of care instructions. Documenting these details with clear photographs can also help you reference its history and authenticity later.
Recommended


